Studio controls
Connect OBS Studio to use your touchscreen for recording, streaming, and saving replay clips.

Add the Studio Control grouped page
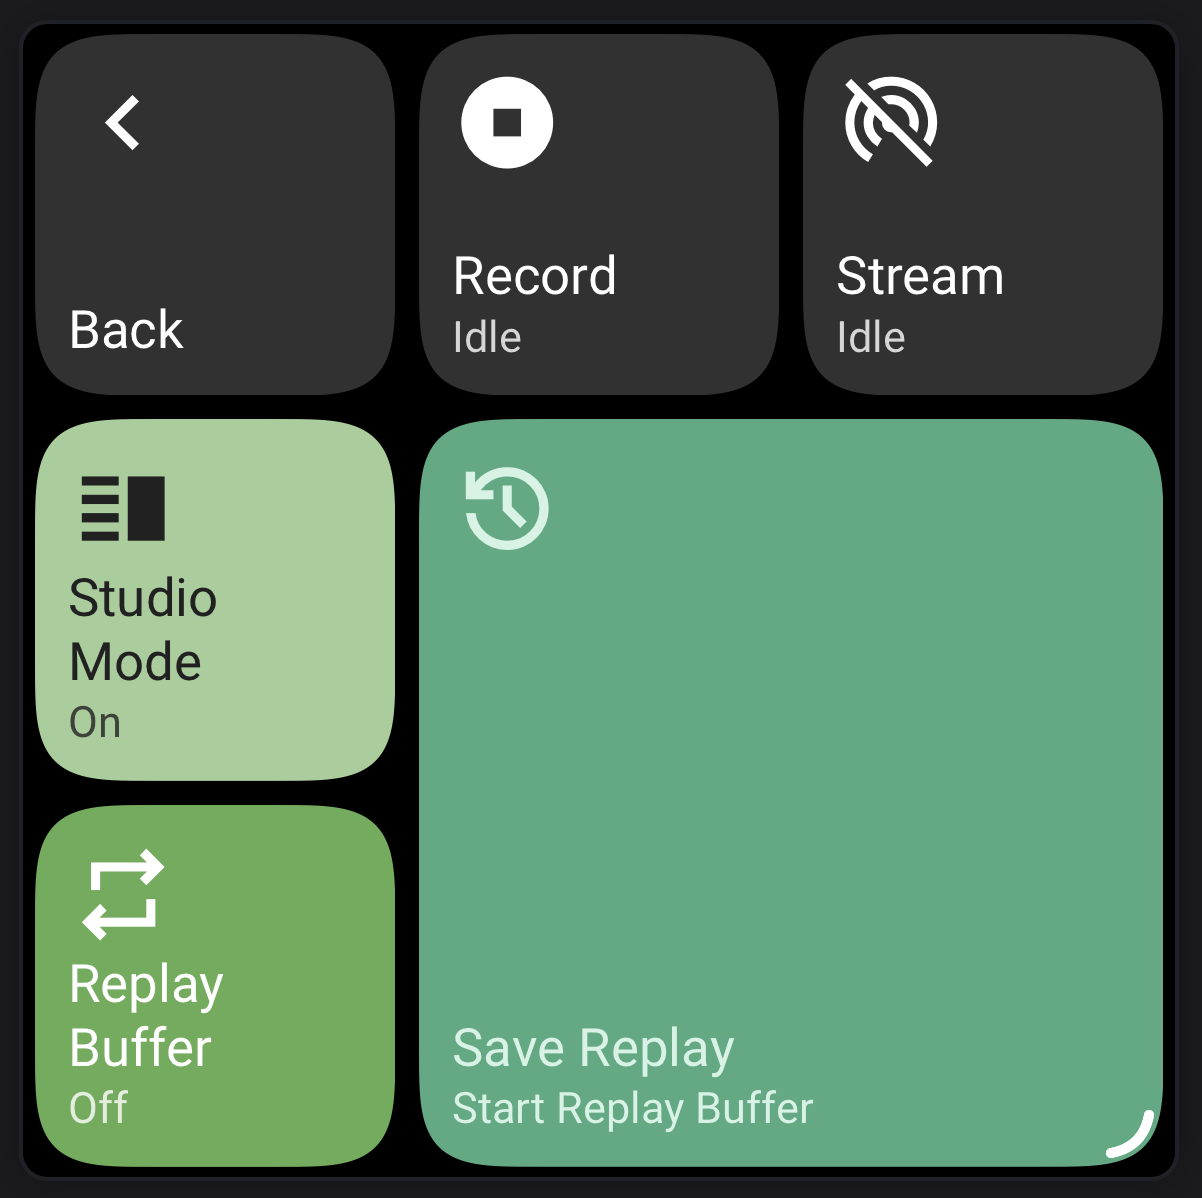
Choose Add Card → OBS Studio → Grouped pages → Studio Control and save the card. It starts with Record, Stream, Studio Mode, Replay Buffer, and Save Replay. Save Replay spans two rows and two columns when there’s room.
Use Edit Subpage to move, edit, or delete the preset cards. Add Virtual Camera or Open Multiview if you also use them during a session.
Studio Mode and Multiview
Add a Studio Mode card and choose one option under Type.
| Type | What it does |
|---|---|
| Studio Mode | Toggles Studio Mode. The card asks for confirmation before turning it off by default. |
| Program scene | Shows the name of the scene OBS is sending to its output. |
| Take Live | Sends the current Preview scene to Program using the selected transition. See how to preview a scene and take it live. |
| Open Multiview | Opens OBS’s overview of scenes full-screen on the first monitor listed by OBS. Tap again to bring the open window to the front. |
For Open Multiview, enable EspDesktop in System Settings → Privacy & Security → Accessibility so it can find and focus the window. Press Esc on the Mac to close it.
Streaming, recording and virtual camera
Add Output Controls and choose an OBS output.
| OBS output | What it does |
|---|---|
| Streaming | Starts or stops a stream. The subtitle shows the current state, including when OBS reconnects. |
| Recording | Starts or stops a recording. The card shows Record when idle, Recording when active, and updates when recording pauses or stops. |
| Virtual Camera | Starts or stops the OBS Virtual Camera. The card lights up while it’s running. |
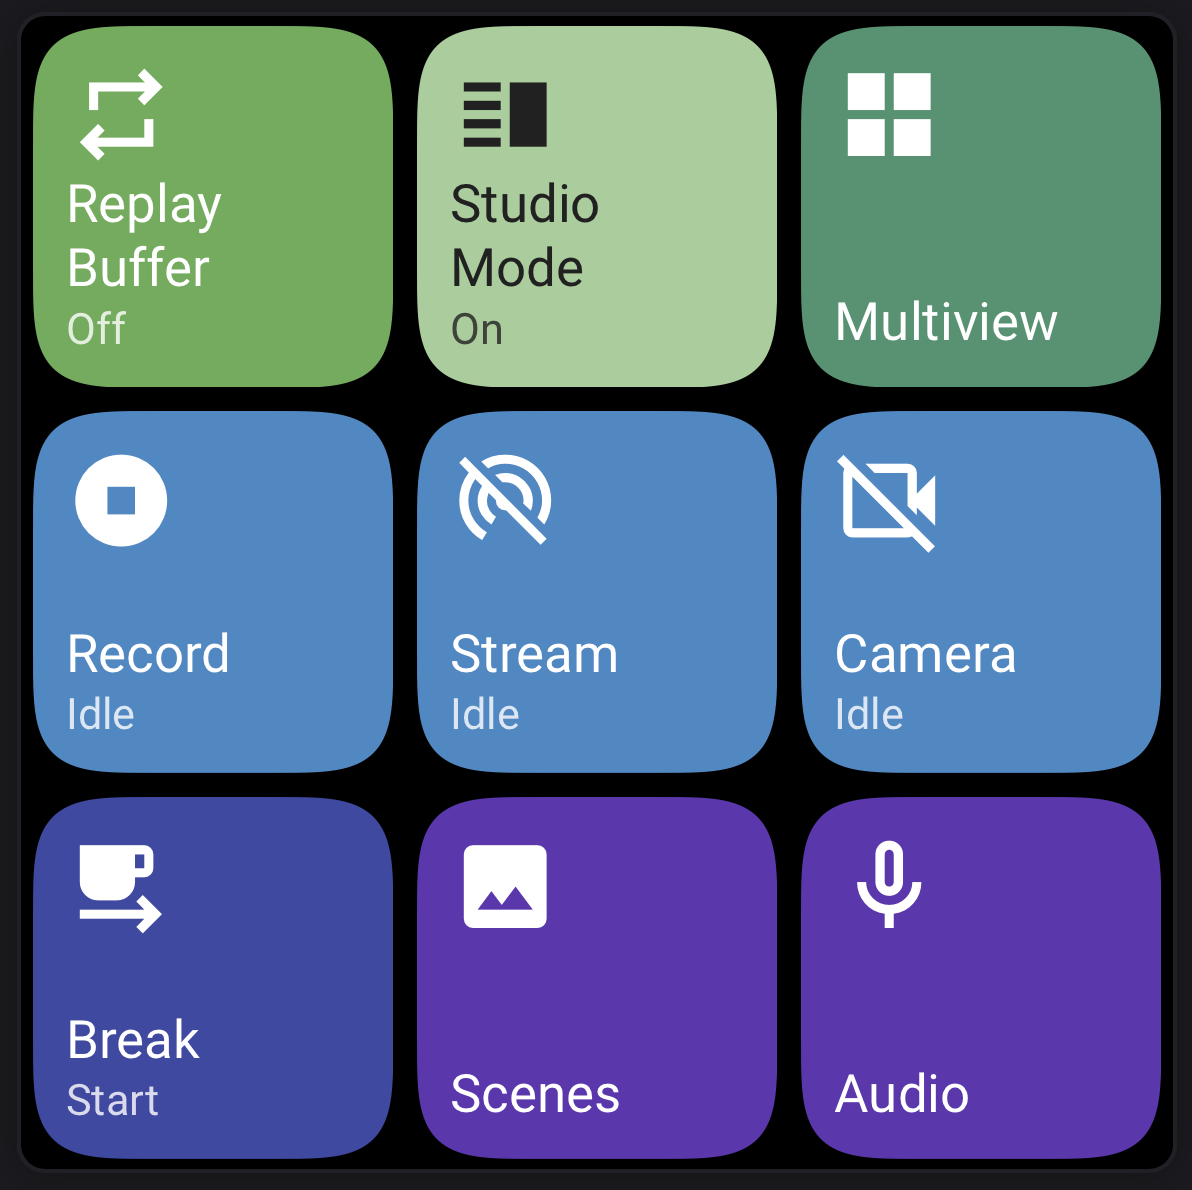
Each output asks for confirmation before starting and stopping by default. In the Confirmation panel, use When to choose Start, Stop, or Both. You can edit the message and button labels, or turn off Confirmation Required. If OBS changes the output while a prompt is open, check the updated action before trying again.
Existing streaming and recording status cards become output controls with confirmation in both directions.
Replay Buffer
Replay Buffer keeps a rolling clip of recent footage. Use Save Replay to write that footage to a file while the buffer is running.
- Enable Replay Buffer in OBS → Settings → Output.
- Add a Replay Buffer card and set Type to Start / Stop Buffer. The card lights up while OBS is buffering. It asks for confirmation before stopping by default.
- Add another Replay Buffer card and set Type to Save Replay. Tap it while the buffer is running. The card lights up while you press it and changes from Ready to Saving, then shows Saved for five seconds after OBS confirms the file.
The Confirmation panel on Studio Mode and Start / Stop Buffer lets you choose when to confirm and edit the prompt and button labels.
Find saved clips in the active OBS profile’s Recording Path under Settings → Output. To play a clip in OBS, select it in an OBS Media Source. OBS recording output guide