Scene control and mixing
Program is the scene OBS sends to its output. Preview is where you line up the next scene with Studio Mode on. Connect OBS Studio, then open Add Card → OBS Studio in the display editor.

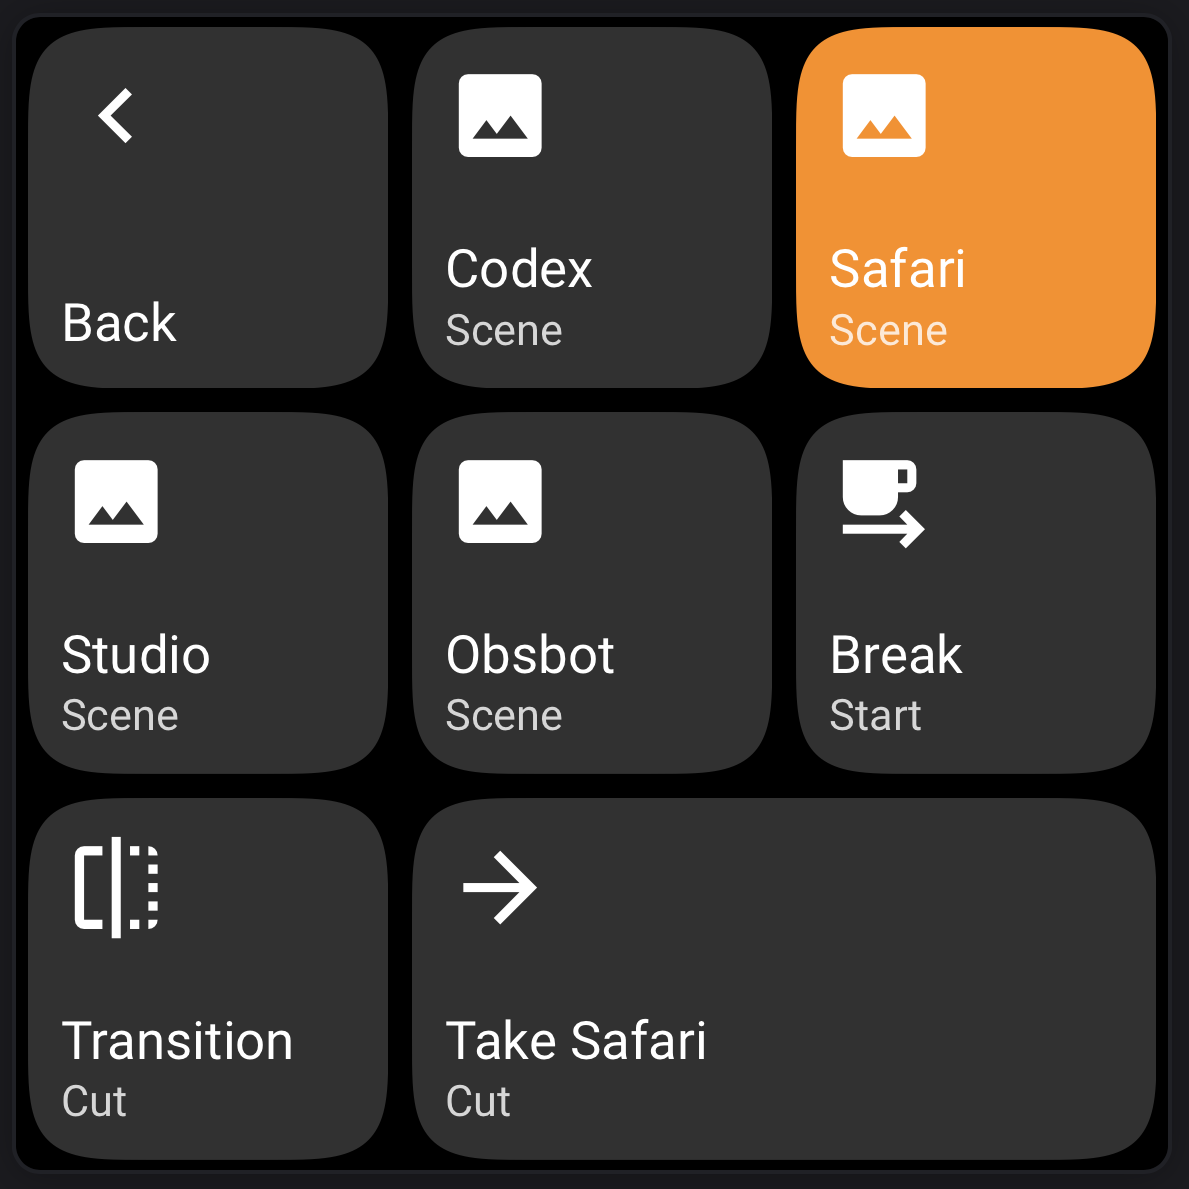
On this customised Scenes page, Studio is live and Safari is selected in Preview. Save Replay was added next to Take Safari to keep clip capture within reach.
Add grouped scene or transition pages
Scenes
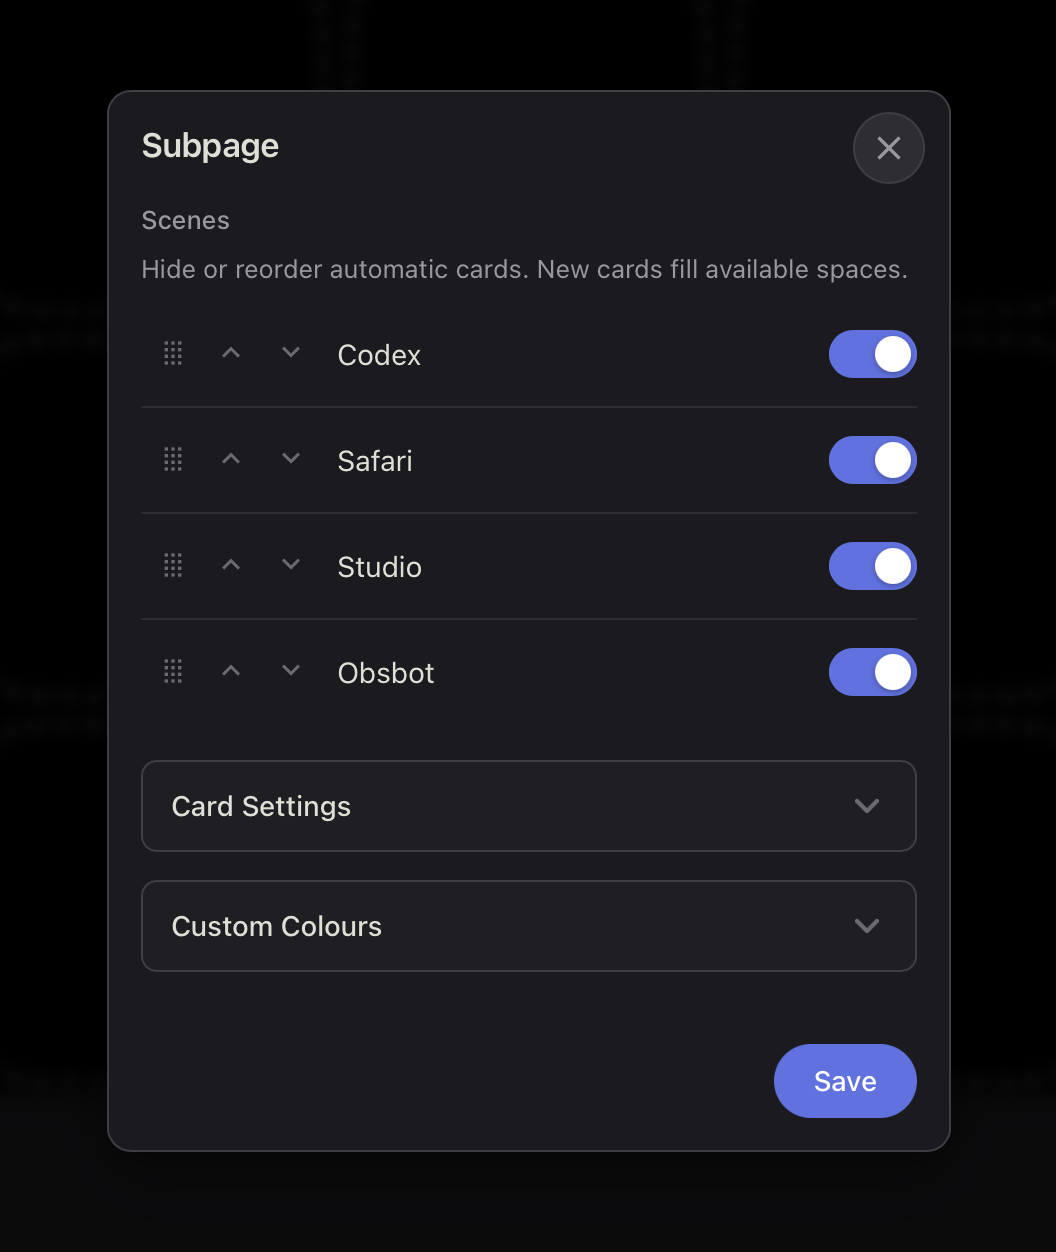
Choose Grouped pages → Scenes and save the card. The page fills with scenes from your current OBS scene collection. Break, Transition, and Take Live appear where there’s room. Take Live spans two columns by default.
Open Edit Card on the Scenes page card to hide or reorder scenes. In this example, all four are visible. Putting your most-used scenes first gives them the first available cells after Back.
Transitions
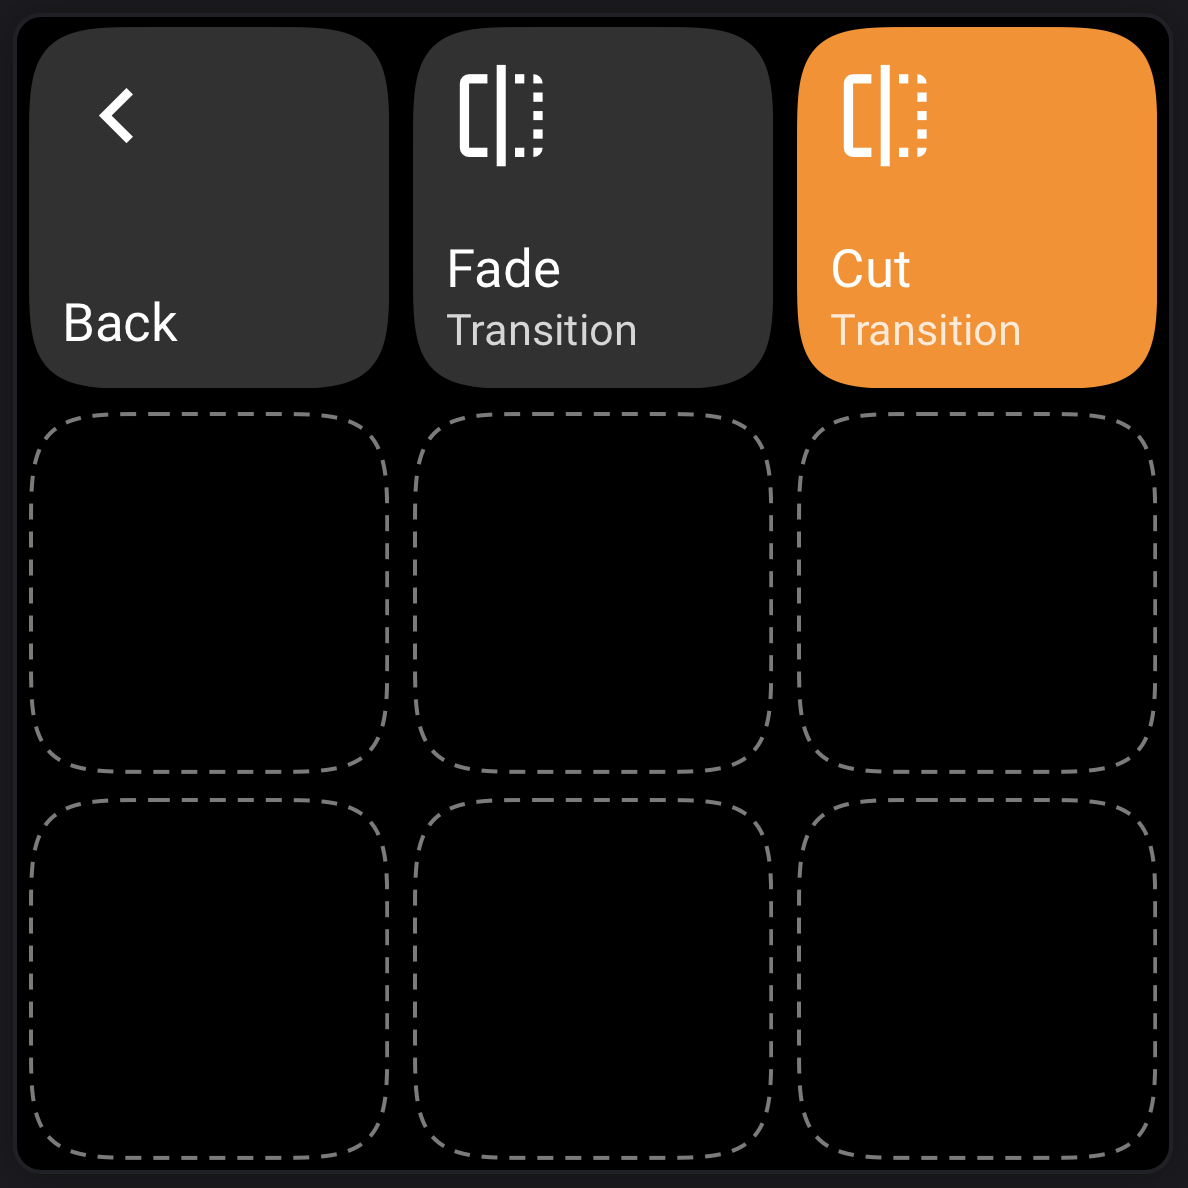
Choose Grouped pages → Transitions and save the card. It fills available cells with the transitions configured in OBS. Open Edit Card on the page card and expand the Transitions list to hide or reorder them.
Preview a scene and take it live
- Use the Scenes page or add a Scene card and choose an OBS scene. With Studio Mode off, tapping the card changes Program. With Studio Mode on, it selects Preview. The card highlights the scene it controls. EspDesktop keeps the card’s binding if the scene becomes unavailable.
- To see what’s live, add a Studio Mode card and set Type to Program scene. The card shows the name of the current Program scene with Live underneath.
- To send Preview to Program, use Take Live on the Scenes page or add a Studio Mode card with Type set to Take Live. With Studio Mode on and Preview different from Program, the card is ready and shows the scene it will take live and the selected transition, such as Take Safari with Cut underneath. When both scenes match, it shows Currently Live. If Preview changes before the command reaches OBS, check the updated name before tapping again.
Choose a transition
Under Card types → Transitions, select an option under Type.
| Type | What it does |
|---|---|
| Cycle transitions | Tap to step through the transitions configured in OBS. The card shows the selected transition and lights up while you press it. |
| Select a transition | Pick a specific OBS transition, such as Cut, Fade, or a custom transition. The card lights up when that transition is selected. |
In Studio Mode, choose the transition you want, then use Take Live to send Preview to Program.
Switch to a break scene
- In the EspDesktop Mac app, open Settings → OBS → Break Settings. Under Break scene, choose the scene viewers should see during your break. Under Mute during break, choose an input such as Mic/Aux, or select Leave audio as is. EspDesktop saves these choices for the current scene collection.
- Use Break on the Scenes page or add it under Card types → Break. Tap Start. If you chose an input, EspDesktop verifies that it’s muted before switching Program.
- Tap Resume to return to the previous scene. EspDesktop restores an input it muted when it can verify the changes.
Taking another scene live also ends the break and makes Start available again. If the microphone was muted during the break, check it in OBS before speaking. If the card says Check OBS, check the Program scene and microphone in OBS, then choose Clear BRB alert in Break Settings.