Audio controls
Connect OBS Studio to control the inputs in its mixer. When selecting a microphone, choose the input your broadcast captures. It can differ from the Mac’s default microphone.

Add the Audio grouped page
- Choose Add Card → OBS Studio → Grouped pages → Audio, then save the card. The page fills available cells with sliders for your current mixer inputs.
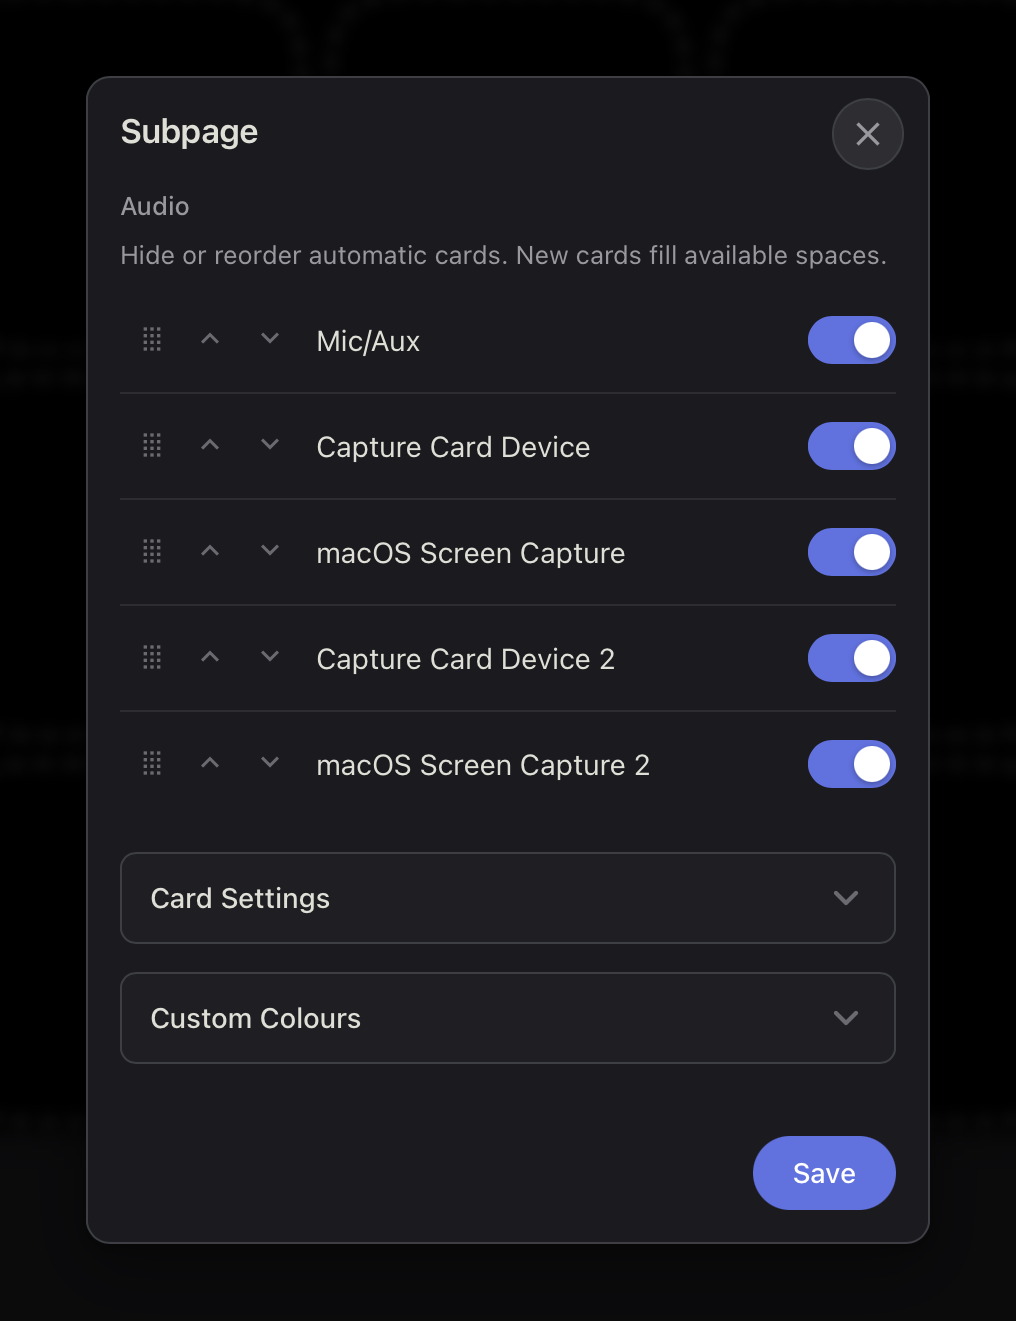
- Open Edit Card on the Audio page card to hide or reorder inputs. In the example below, Mic/Aux comes first. Turn off any capture inputs you rarely adjust. Choose Save.
- Use Edit Subpage to move or resize sliders and add other audio controls in the free cells. See how to customise grouped pages.
Add an audio control
- In the display editor, choose Add Card → OBS Studio → Audio Controls on Home or in a subpage.
- Under Type, choose one of the options below.
- Choose the OBS mixer input under Source and save the card. EspDesktop keeps the binding if the input becomes unavailable.
| Type | What it does |
|---|---|
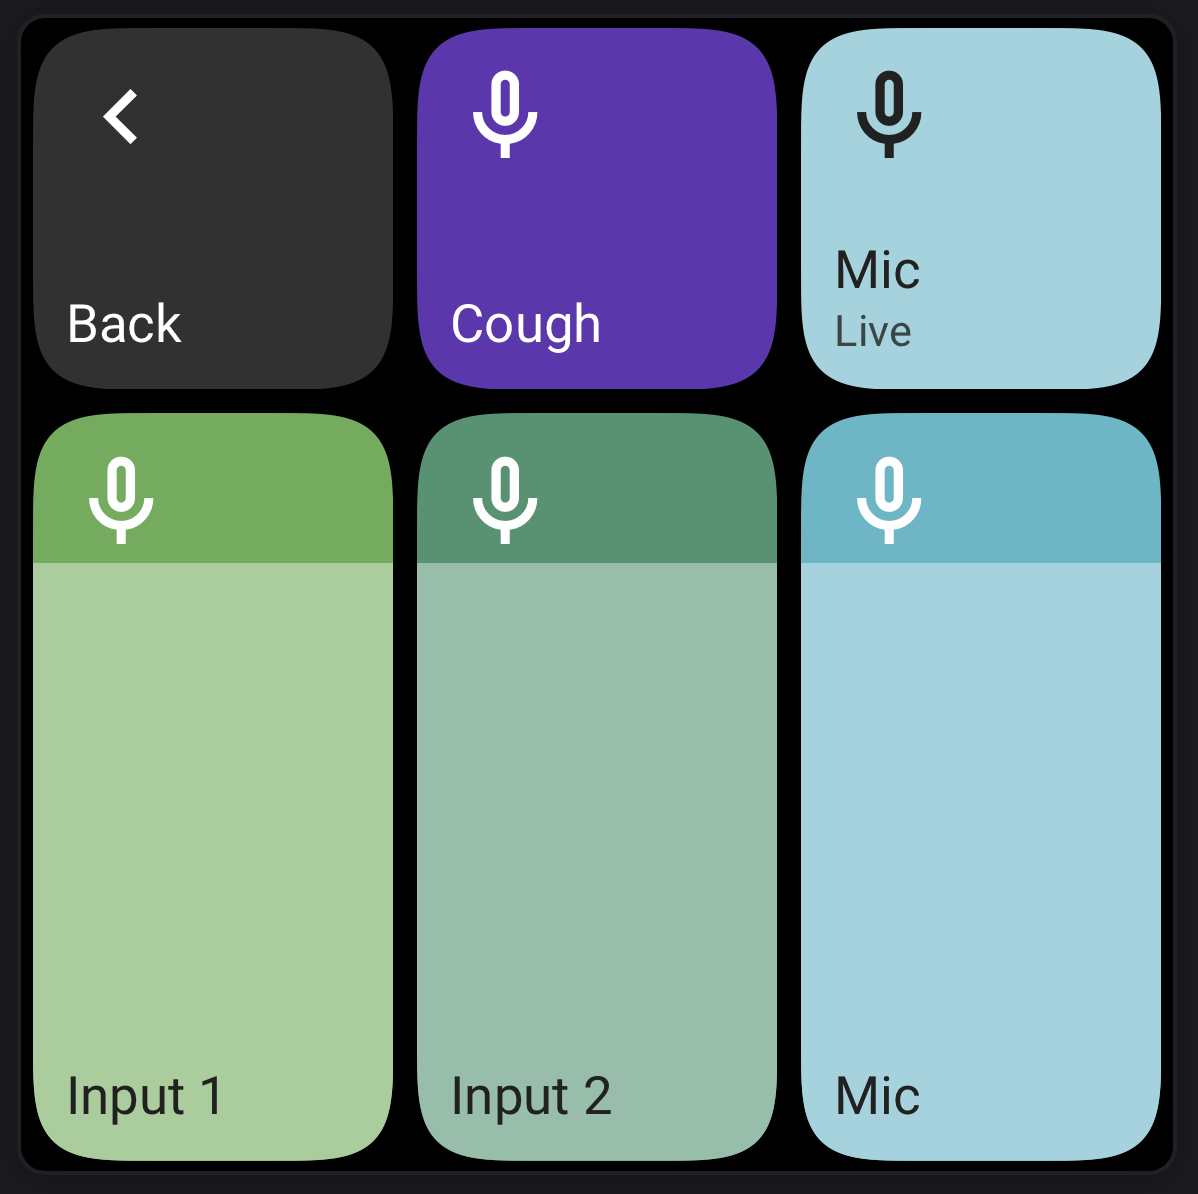
| Level | Drag to adjust the selected input’s mixer level. You can still adjust it while the input is muted. |
| Input State | Tap to mute or unmute the input. The card uses its on colour for Live and its off colour and crossed-out microphone for Muted. |
| Cough | Hold to mute temporarily. Releasing restores the previous mute state. The card shows Muted whenever that input is muted, including during a break. |
The layout in the photo uses taller Level sliders and puts Cough beside the mic’s Input State button. To build a layout like this, set both buttons to the same Source so you can choose between a quick mute and one that stays on until you tap again.
To mute an input when you switch to a break scene, use Break Settings.